The time has come again for one of the most awaited meteor showers of the year, the Perseid Meteor Shower.
The Perseid Meteor Shower is observed by many astronomers and astronomy enthusiasts around the world. It is well-known for the amount of meteors that can be observed throughout the sky. During its peak, it is expected that observers can see up to 60 meteors per hour, especially those on excellent dark sites.
Furthermore, this particular meteor shower is known for fireballs, which can be prominently seen as they are brighter and longer than a usual meteor streak.
This year, the Perseids can be observed from July 17 to September 1[1], with its peak on the night of August 12 until morning of August 13.
While these bright meteors can be observed even with the naked eye, a lot of observers attempt to capture these beautiful streaks in the sky. As such, we conducted a pen-and-paper interview with Ms. Margareth Custodio, who has had vast experience on astrophotography for tips on how to get that perfect meteor shot!

The best location
Choosing the best location is tricky, but definitely essential. Ms. Margareth recommended to find an area where there are no high buildings or houses around you. She further recommended hiking or setting up at public parks as these locations are good for observing and photography of the night sky.
Equipment and setup
Ms. Margareth shared with us the three main equipment that you need for photographing Perseid meteors. These are camera, it can be smart phones or DSLR, tripod for stability and star map like Stellarium Mobile to guide you where to locate your target object in the night sky.

Setting camera elements
After setting up your camera and tripod, don’t press the shutter just yet! It is important to properly set up camera elements to achieve that perfect shot. First and foremost, Ms. Margareth made it clear that you should change your camera file/format into RAW/CR2. Most of the DSLR produce RAW/CR2 format, and some smartphones already have a setting of RAW format. She also added that you should set your white balance (WB) into Monochrome so when it’s time to process your images, you will not have a hard time putting temperature/color to your image.
Furthermore, Ms. Margareth also discussed with us four camera elements that can be manipulated to produce good astronomy images:
- Manual/Pro Setting Setting your camera into Manual setting will enable you to adjust the aperture, ISO, and exposure time.
- Aperture Aperture is the value of how low-wide, high-small the opening of your lens is. The lower the value of aperture the wider the lens opening, it means that when you choose to use lower aperture light from the object will be bright. This setting is good when capturing meteor/s. f/3.5 f/2.5 you can manipulate aperture only on a DSLR but also it depends on what lens you are using, the main value I get when using an 18-55mm lens is f/5.6. The aperture on smartphones is fixed to f/2.5, but still, it depends on what phone you are using.
- ISO ISO is sensitivity to light, low-dark, high-bright. The best setting for capturing meteor/s with an ISO of 800-1600. If we will put the ISO to a high value, you will see grains on your images which are called noises
- Shutter speed/Exposure time it’s a value of time in seconds that your camera is exposed to your object. We use the term exposure time for photography of meteors because we will be using 25-30 seconds of exposure. The more exposed your camera is to your object, the more it will gather light from it.

Recommended settings for meteor/s photography
Ms. Margareth shared with us that the usual settings she uses for DSLR is f/3.5-5.6, ISO 800 and exposure time to 25 seconds while for smartphones, ISO 1000 and exposure time of 25 seconds. She further mentions an automated setting for smartphones called night mode and she encouraged beginners to explore the manual settings, for you to know which setting of values are best fit to your taste.
Expected issues and challenges
Like any other hobby or interest, there are lots of issues and challenges that are expected when attempting to photograph meteor/s. When asked about the expected issues, Ms. Margareth detailed some of the most common issues in astrophotography. Weather comes in as the first issue in which we do not have any control over but you should always check your local weather forecast before planning on observing and imaging the night sky. Next is light pollution which is one of the enemies of enthusiasts and astronomers. Instead of having a dark sky you might get an orange-red sky at night due to light pollution. If you really can’t go out of town, lower your ISO setting so you won’t get any orange-red sky and change your WB to monochrome.
Another issue that is expected is obstructions. Ms. Margareth shared with us her experience with obstructions having lived in a business center city in the Philippines: what I do is I use them for additional objects/art on my image. Or I’ll go to a dark area, still in the city, as long as it doesn’t have too much light from houses or buildings.

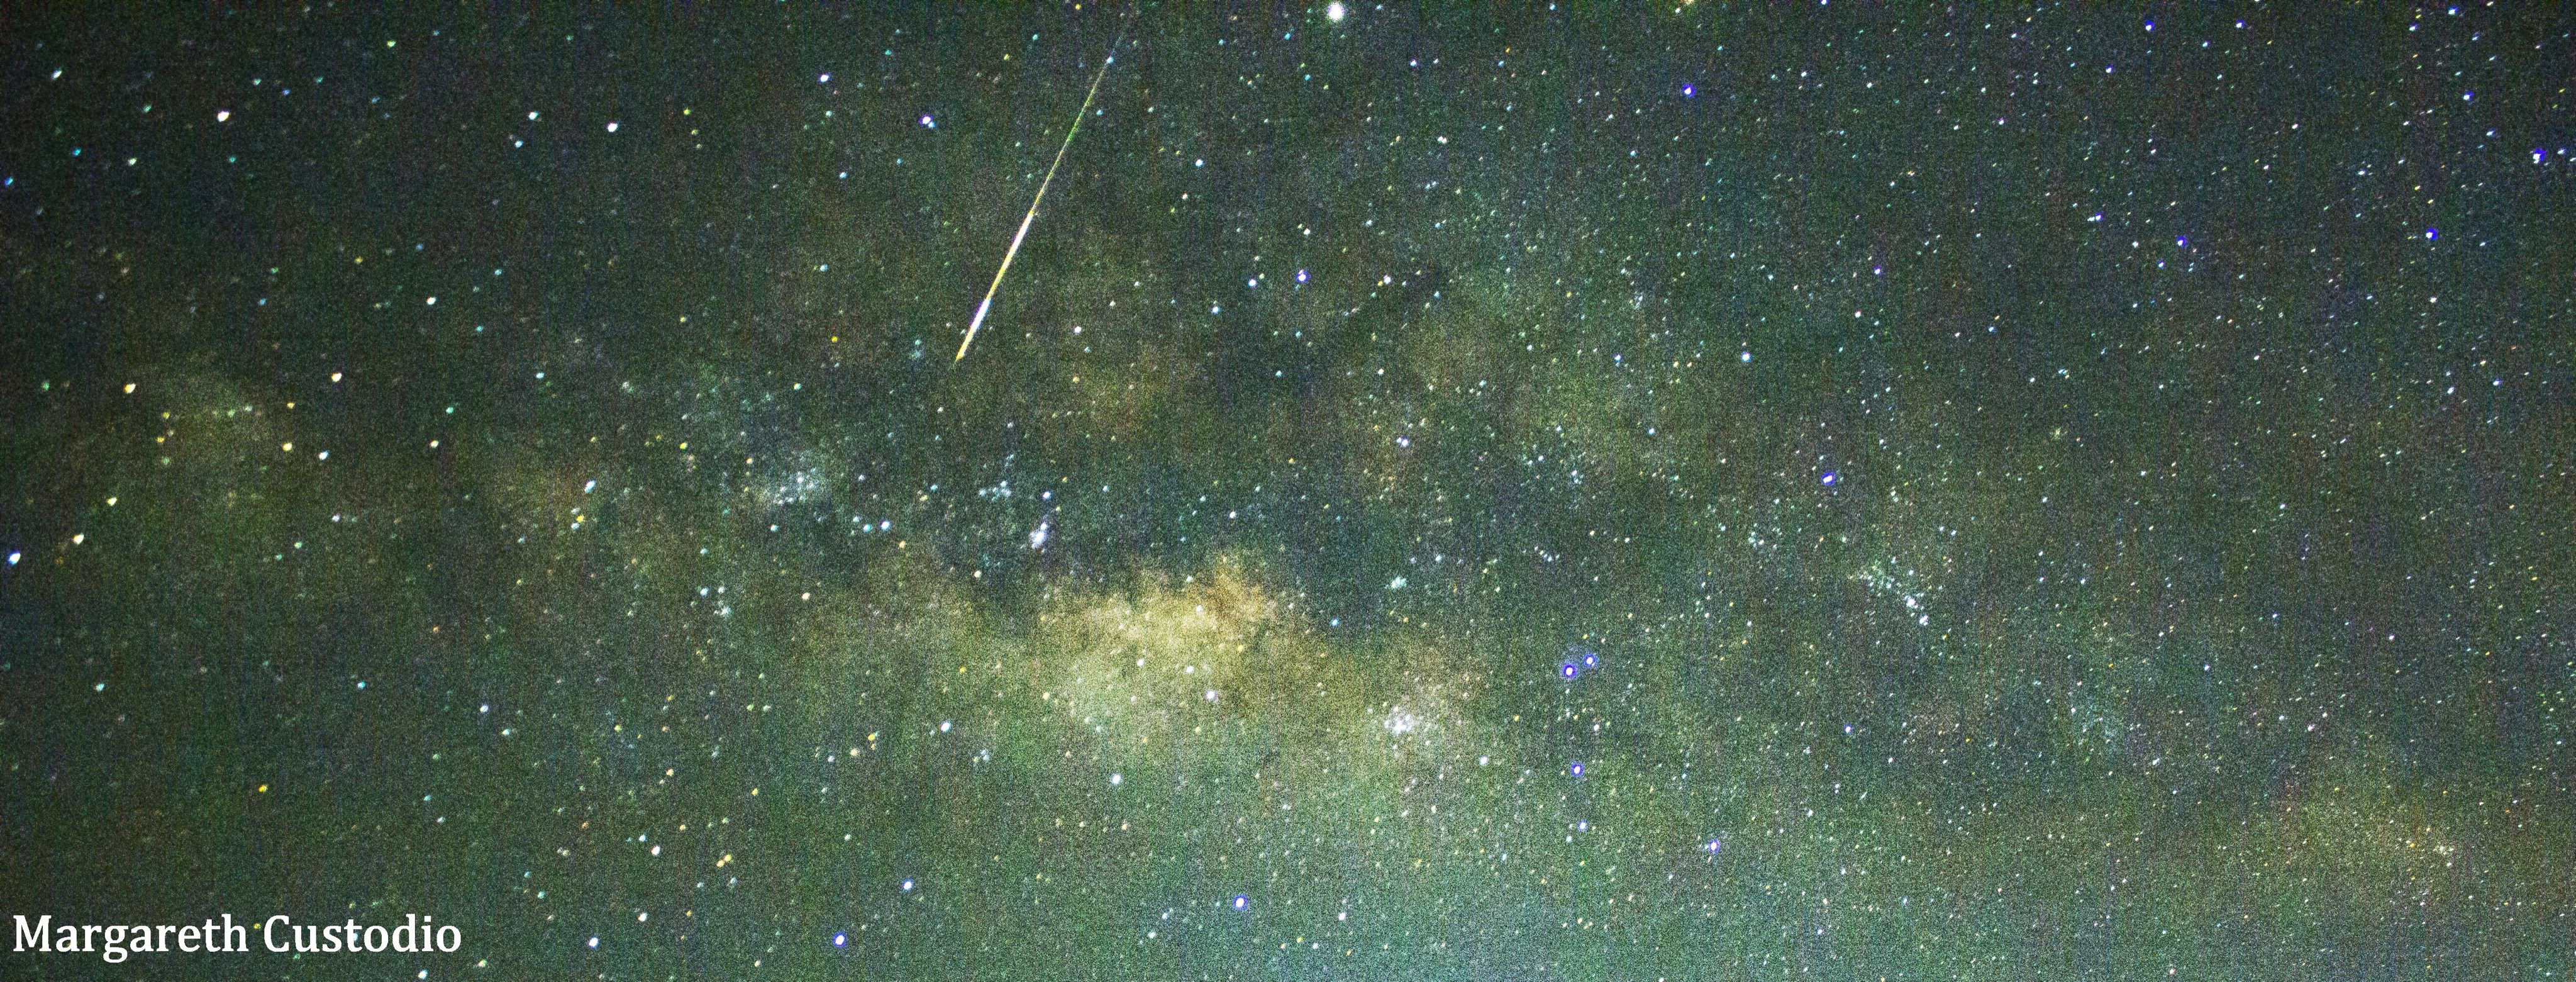
image captured by Ms. Margareth Custodio
Of course, one important attitude an astrophotographer should have is Patience. Ms. Margareth emphasized that you need to have a lot of patience when imaging meteors. They don’t shower like rain. In an hour of observing you can get 1-6 meteors depending on the meteor shower event and to your area. If you will observe and want to do imaging of meteor shower pick the best meteor shower event. And as expected, one of the most famous meteor showers is the Perseid meteor shower!
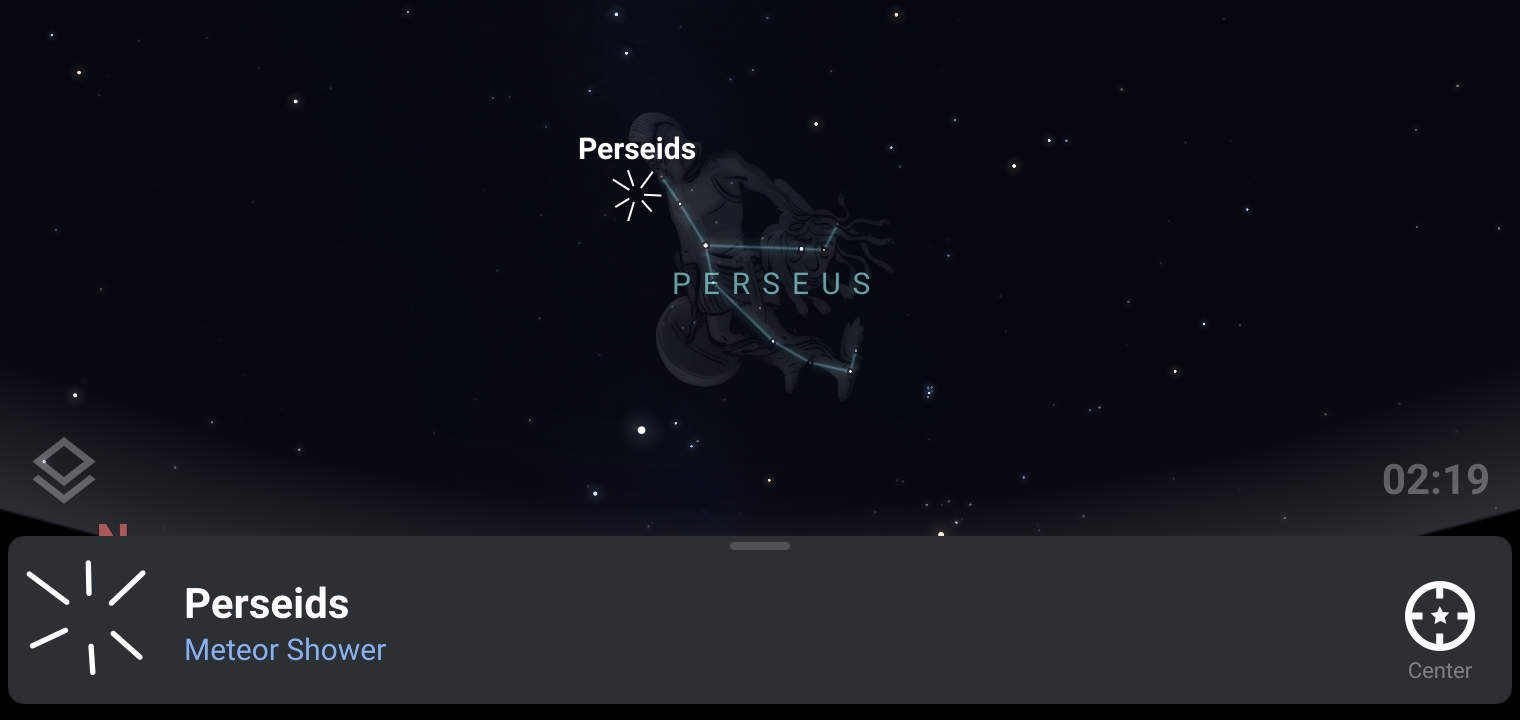
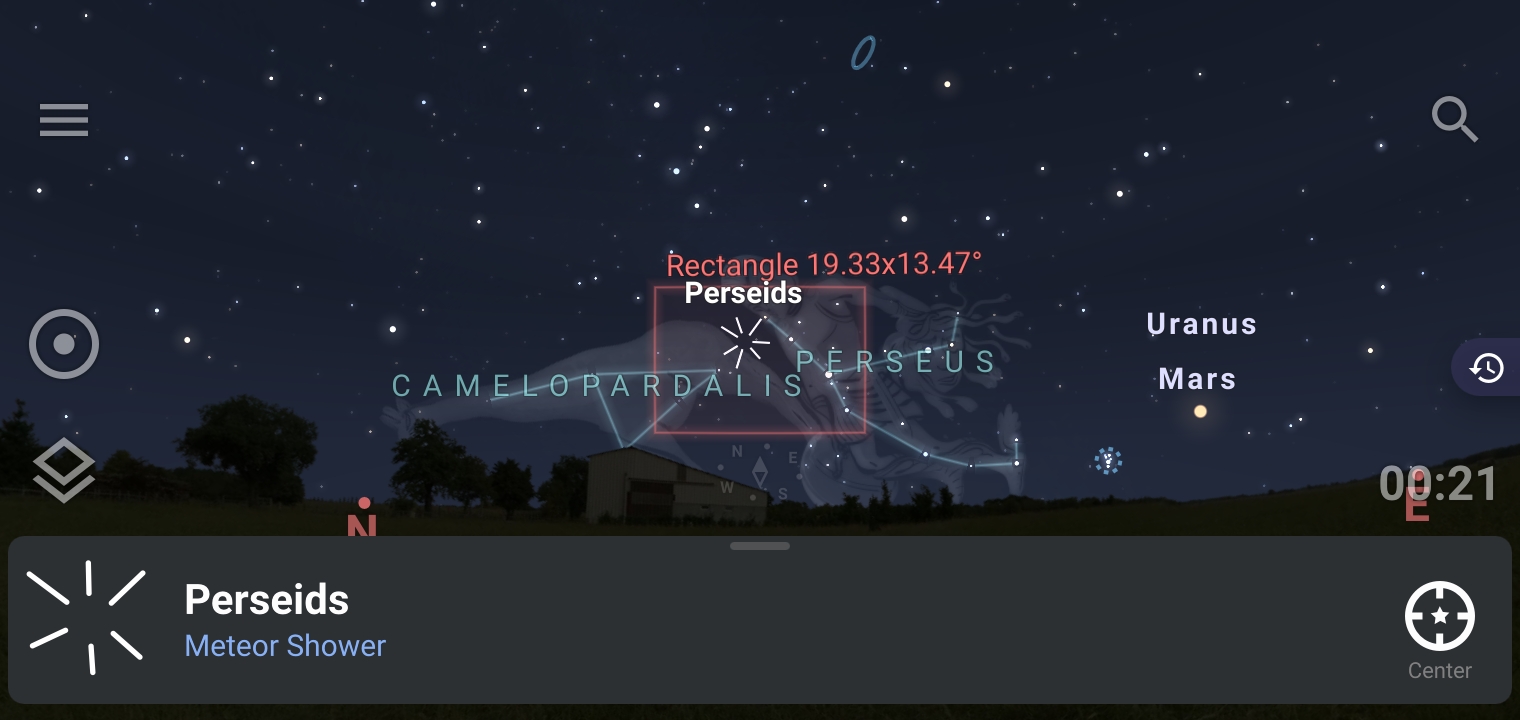
She also added that meteors don’t just come from their radiant, we have sporadic meteors that did not come from the radiant. She also recommended using Stellarium to locate the radiant of the meteor shower, then check the sky and locate them. If you see your radiant in a high position, this is the best time for you to take images.
View constellations on Stellarium Mobile!


Available on Google Play and the iOS App Store
Additional tips for beginners
We cannot end the interview without asking for additional tips for beginners and she did not hesitate to advise: If your camera has a wide-angle lens or if you have a fisheye lens, this is a good lens to use when imaging the meteor because you will see the entirety of the sky. You won’t be having a hard time which area you will point your camera at. Research about the meteor shower event you want to see. Always use star maps so you won’t be lost in the night sky and bring your friends or family when observing meteor showers.

image captured by Ms. Margareth Custodio
That was insightful! We wish that this helps you in capturing the infamous Perseid meteors.
Feel free share your experiences and tag us on our social media accounts:
<p align= "right">
App Store® Google Play and the Google Play logo are trademarks of Google LLC. Italicized words and phrases indicate verbatim from official interview [1] Reference: Meteor Shower Calendar| IMO